Rugs on Rugs
The first several years of my life (age 2 months to 8-1/2... because 1/2 of a year is important when you're 8) were spent in Saudi Arabia, a wonderful--though sweltering hot--experience. We lived on an American compound and, as you may imagine, there was not terribly much entertainment, so most weekends were spent shopping in the nearest "city," usually in the fabulous rug stores (our favorite was called Desert Designs). While my parents pored over the choices, I would climb on the mounds of carpets, breathing in the terrific smells and accepting trinkets from the rug men.
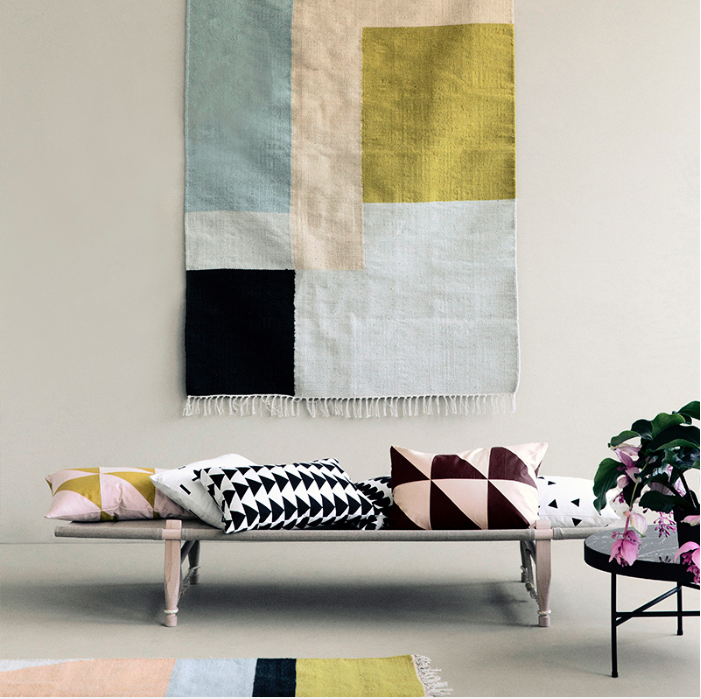
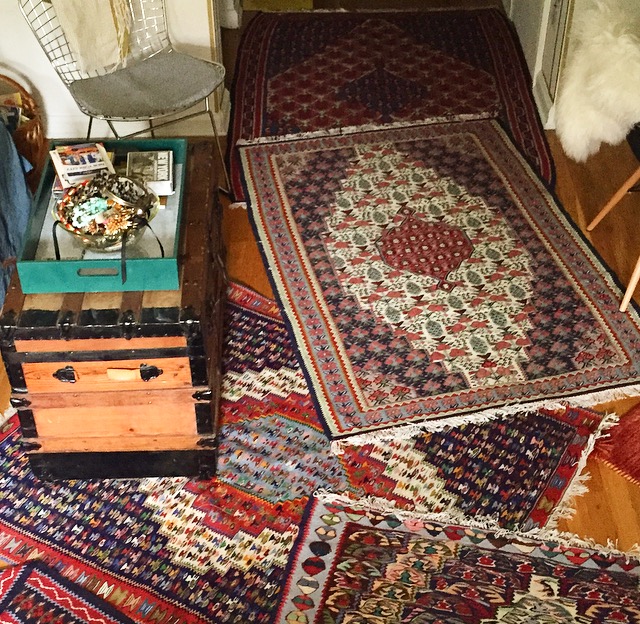
I have always been surrounded by these fabulous carpets, and I knew my studio wouldn't feel like home without them. I could have picked two or three for a traditional look, but I had a pile of carpets at my disposal and using only a few felt wasteful!
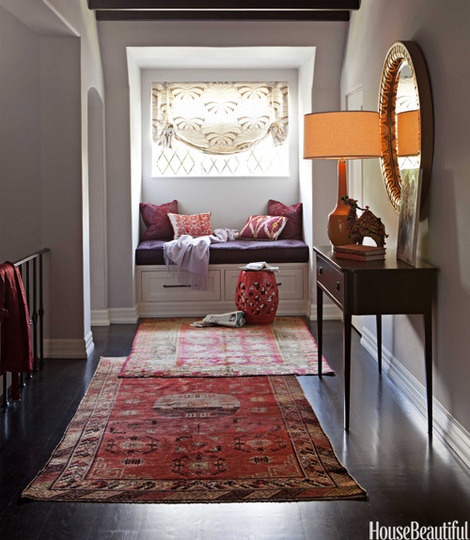
I turned to my trusty Pinterest (search "layered rugs") and found some gorgeous layering inspiration.
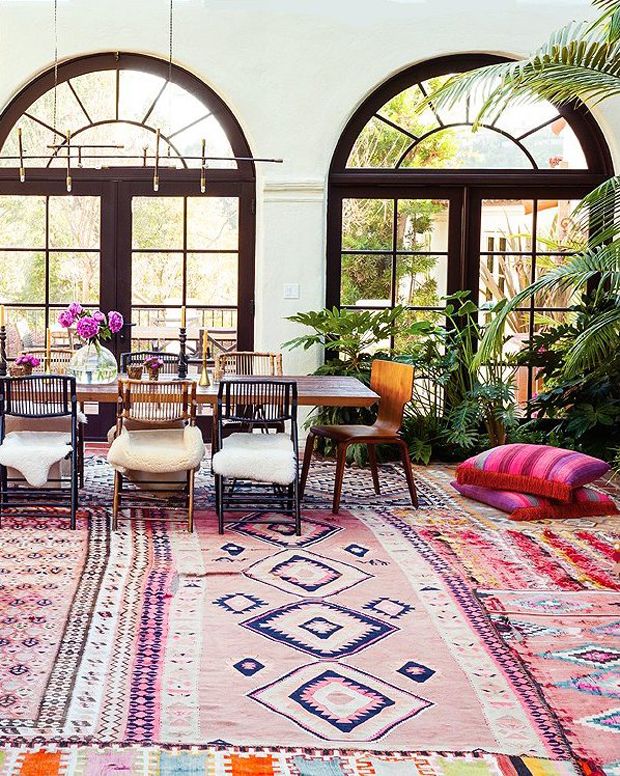
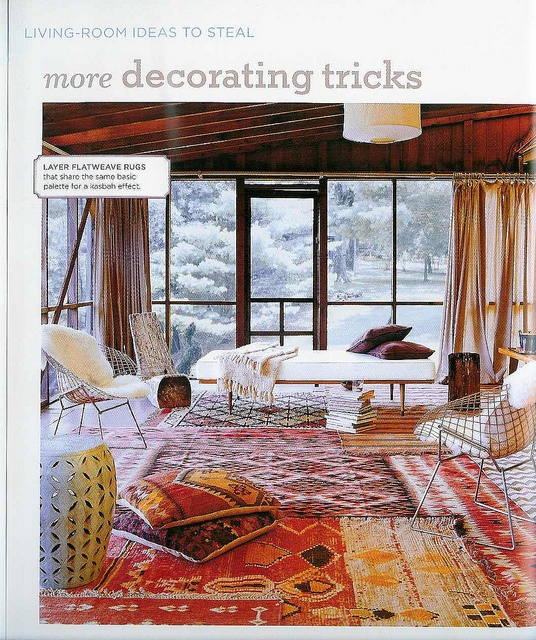

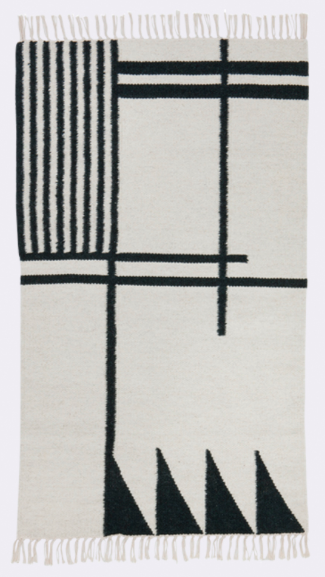
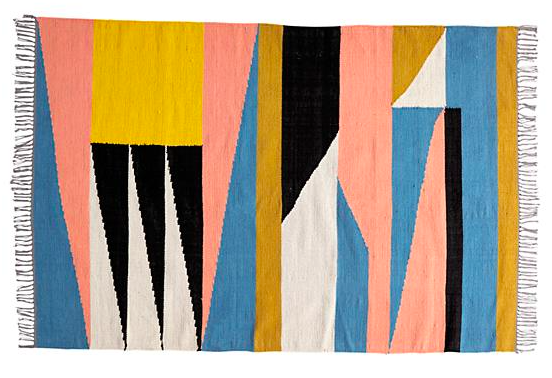
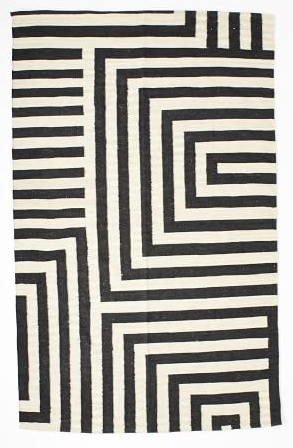
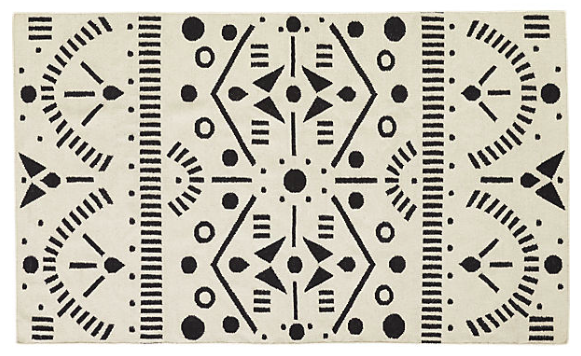
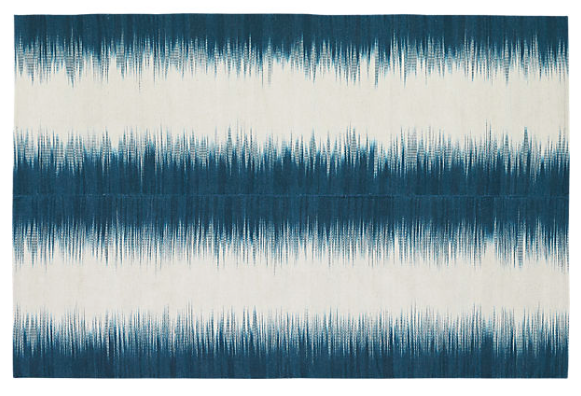
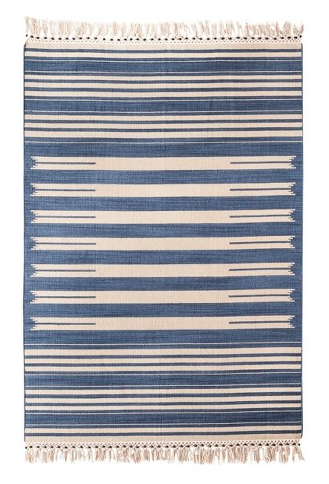
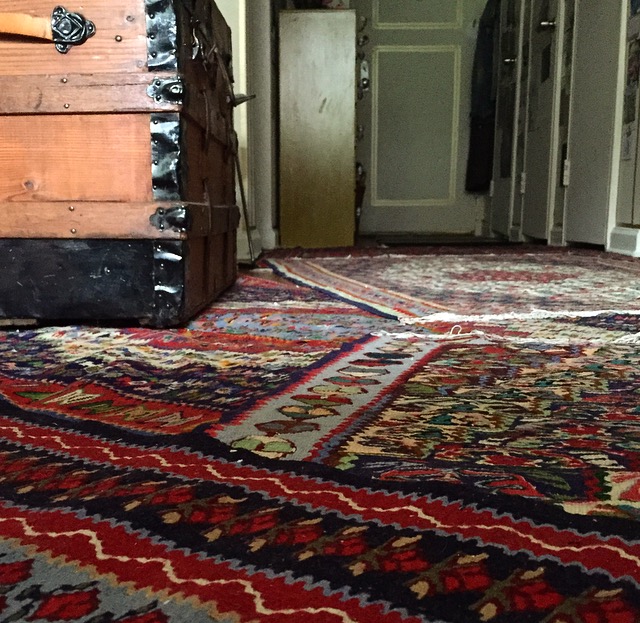
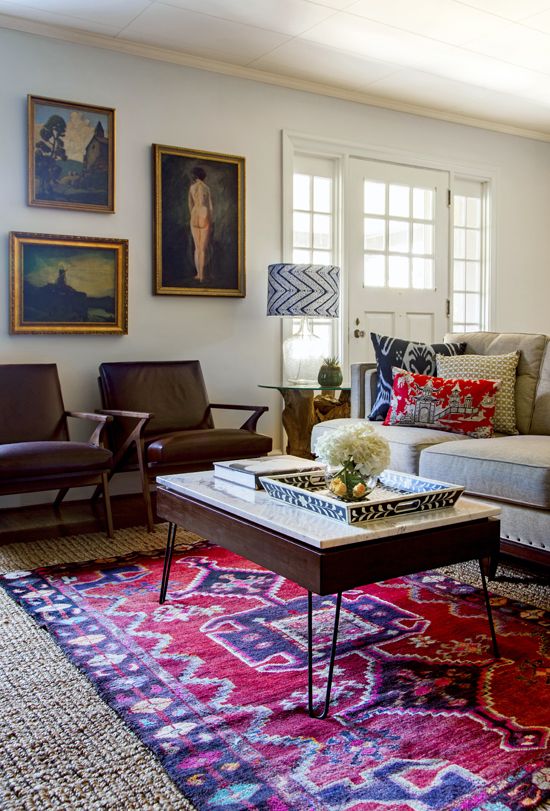
Kilims, like these that I have, are a type of flat weave rugs (rugs woven on a loom, not hand-knotted) and are perfect for layering because they're not bulky. Especially when layered in a (seemingly) haphazard way, the carpets give a casual, boho-chic feel to the space. Apartment Therapy did a few great articles on layering here and here. In my own space, I love how the carpets cover the floor, almost wall-to-wall, without feeling stuffy. I feel like I'm back in Desert Designs!

I envisioned the carpets being the highlight in my apartment (and they are, indeed, usually the first thing guests point out), so I kept the rest of my patterns at bay. Crazy carpets + patterned sofa + patterned bedspread = madness all around! Instead I opted for a white bed scheme and a solid blue sofa (the sofa saga is a post for another time!), with pretty throw pillows in the mix, too. And I noticed that the rooms pictured in the inspiration images above also honored the pattern of the carpets and kept everything else pretty simple.

That said, the carpets do tend to become a field, blending into each other and allowing for interesting throws and pillows. Because their palette is so encompassing, I have my pick of colors to pull from.
There are oodles of places to find rugs to layer, either all flat weaves or a mix of flat weave and natural fiber. I love the mix of a flat weave over a natural fiber (like a sisal or jute, which are typically inexpensive and easy to maintain) that takes up the majority of the room, like here:

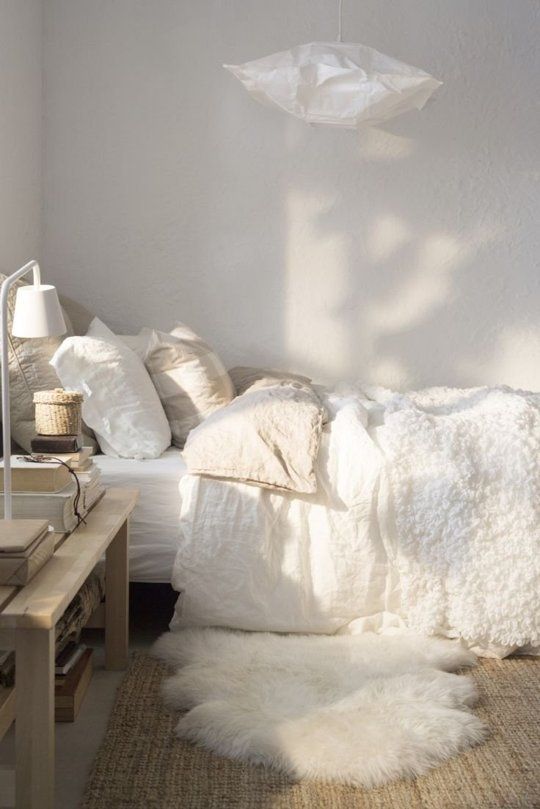
... or sheepskin:
Swoon.
Thanks for reading and for the fantastic support! Check back soon for more Spoonfuls :)