The Sophisticated Pom-pom
Hello! I'm back! I've kicked off the new year with a few little upgrades in my apartment; here's one of them. Let's back up a few months. When I was searching for ways to squeeze a little more storage space out of my little studio, one solution was to make the most of the under-the-bed storage. This meant simply using bed risers (yes, the same ones from freshman year dorms), which both gives me far more space and makes the bed so high that I all but need a running start to get in. :) Of course, I couldn’t leave that unsightly view uncovered, so I made up a quick and cheap bedskirt.
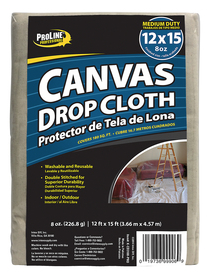
The beauty of making my own is that I could have a completely custom cover—it would be very difficult to find a bedskirt that I wanted in that length—for a fraction of the cost of having it made by an upholsterer. I used a painter’s drop cloth, one of my favorite sources for inexpensive, heavy-duty fabric.
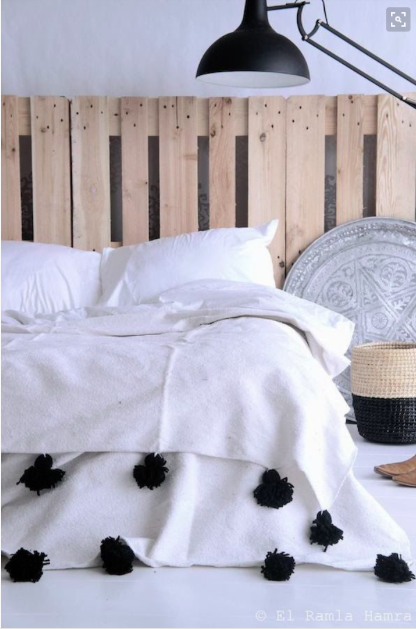
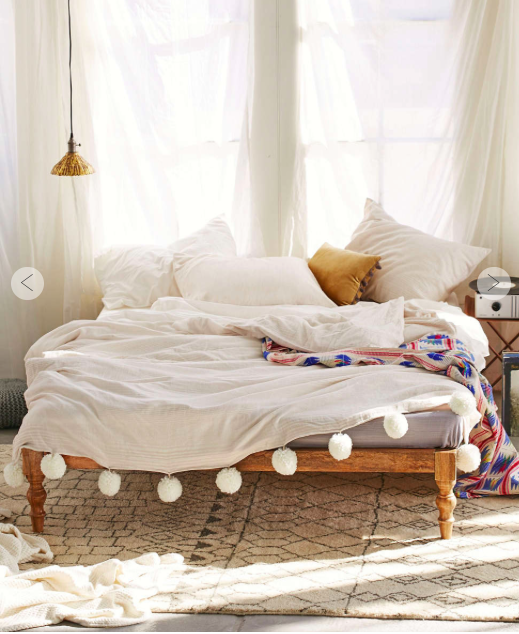
I cut it to size, leaving extra room at the top to tuck in between the mattress and box springs. Then I hemmed it all around to prevent any fraying down the road. I left it just like this for a while; I kind of liked the simplicity. Then I ran across these bedding images and instantly became obsessed with this version of what I like to call a "sophisticated pom-pom":
From Mui Ma:
So simply lovely. Via L'Aviva Home:
Other color options available too (here):
And this from Urban just makes my heart sing:
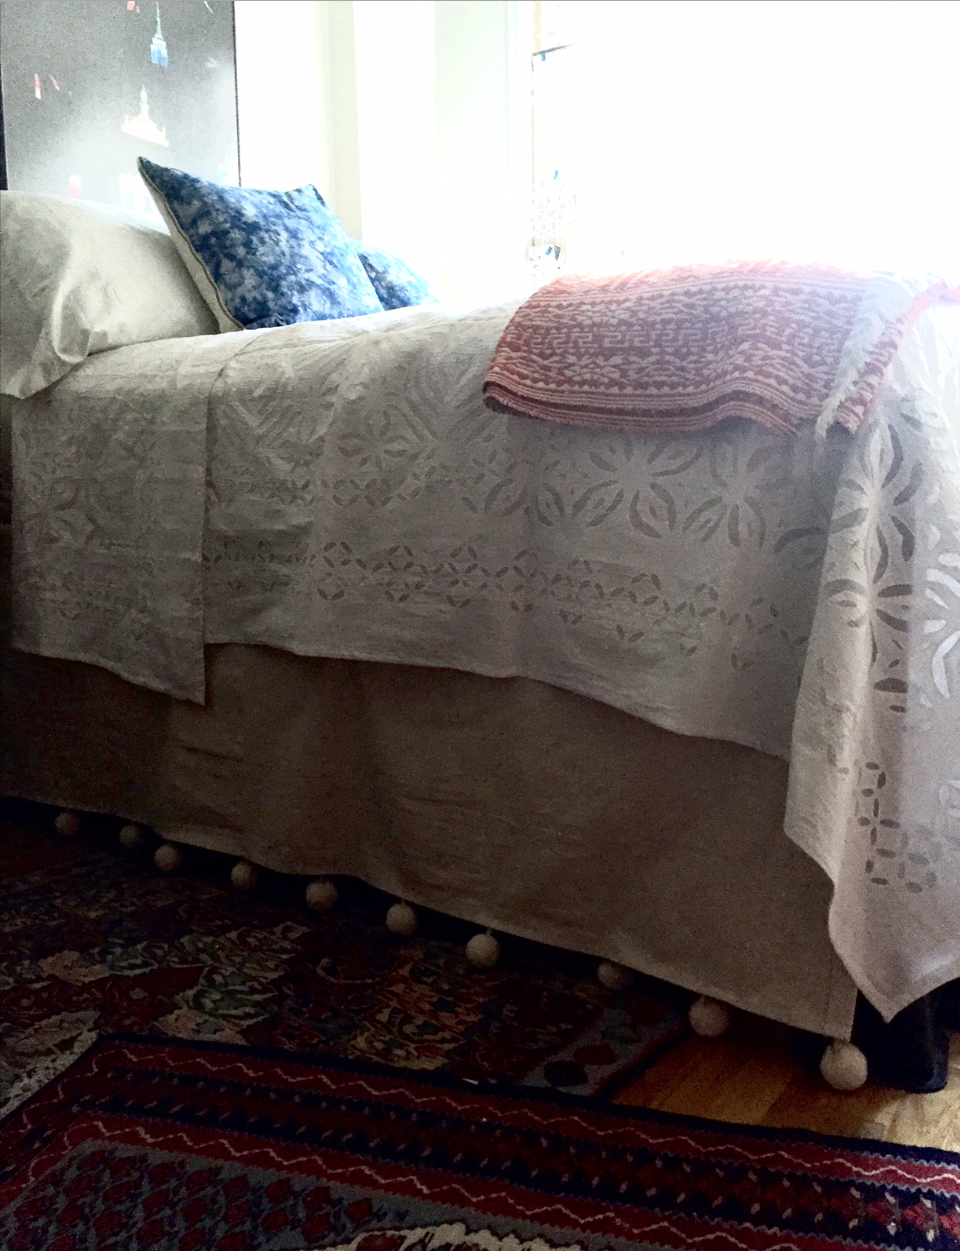
I happened to have several samples of this trim (from Samuel & Sons) left over from various projects, which I negotiated to a spacing that I liked; the poms here are about 7" apart. (This city has some terrific trim stores, though: I've had great luck at Mokuba and M&J Trimming, but if you just walk around the garment district--especially 36th to 40th Streets between 6th to 8th Avenues--you'll stumble upon many other gold mines.) The trick for this look is to find BIG pom-poms. I also especially like these because they're not too white; they're actually the same ecru color as the drop cloth. Match made in heaven.
After spacing them, I simply sewed a few stitches on each to keep it in place and called it a day! From start to finish, this little project took all of 30 minutes, and I am so pleased with the result. The poms just make me smile!
I loved seeing so many of you over the break--and I can't tell you how wonderful it was to hear that you've been reading The Spoonful! So nice and I so appreciate it.
And if you have a DIY you'd like to share on The Spoonful, send it on over!


