DIY: Postcard Wall

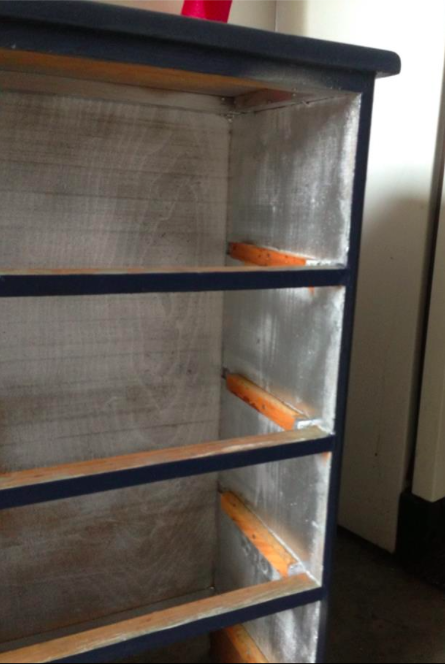
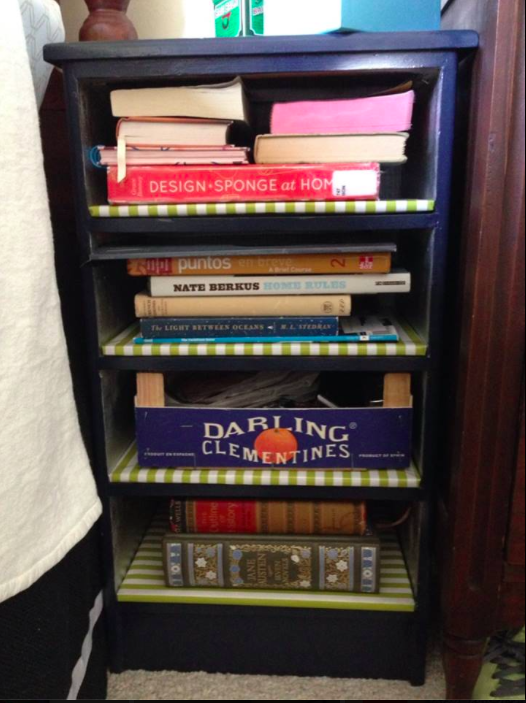
I have a habit of picking up postcards and other papers, especially while traveling. While studying abroad in Lyon, I amassed quite a pile of wonderful postcards which I loved too much to send away or keep hidden in a stack of papers. I also had, on impulse, bought a box of postcards based off of the wonderful Paris vs. New York book (and blog, here). With all of those postcards crying out to be used, I thought I would make a small-scale art installation in my college room (also shown here with the tiny shelf makeover), and the vast wall by my bed seemed to be asking for something wonderful to fill its emptiness. I could have just taped them up to the wall (like I did in my NYC entryway), but I wanted them to have more substance—I think my NYC entryway works because it feels like a massive bulletin board, but this space in my Charlottesville room by my bed wasn’t going to have the same feel.

Screen Shot 2015-08-23 at 12.18.39 AM

I love the look of a bunch of similar frames (who doesn't?!). Here's an image from the wonderful Nick Olsen in last month's Architectural Digest:

Screen Shot 2015-08-22 at 11.47.58 PM

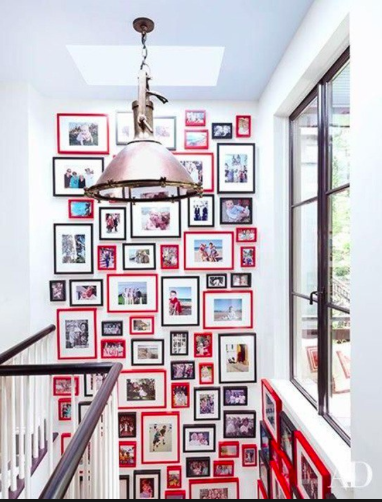
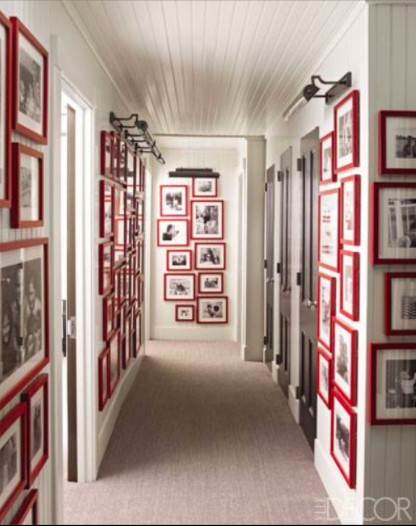
All red frames from Elle Decor:

Screen Shot 2015-08-22 at 11.52.32 PM

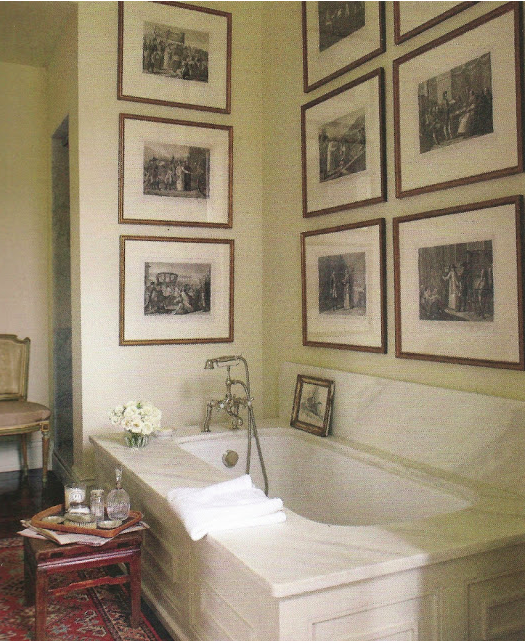
Bigger scale here from Elle Decor:

Screen Shot 2015-08-22 at 11.58.44 PM

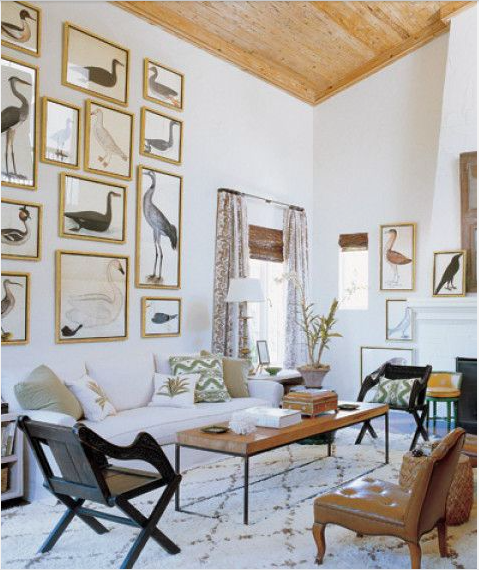
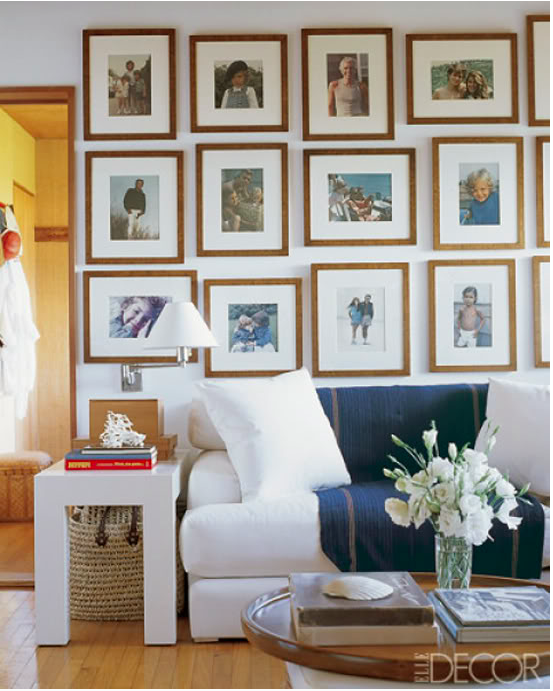
One of my all time favorite rooms by Tom Scheerer. Love the wood frames!

Screen Shot 2015-08-23 at 12.00.13 AM

Yes. (Elle Decor again)

Screen Shot 2015-08-23 at 12.01.45 AM

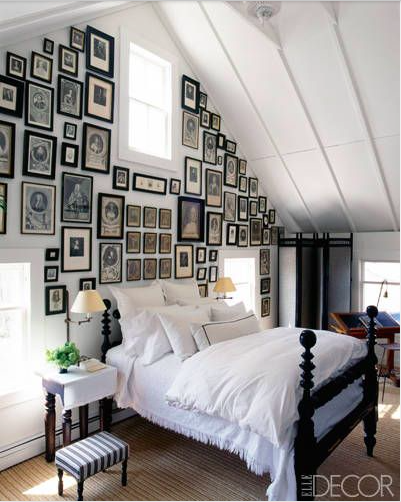
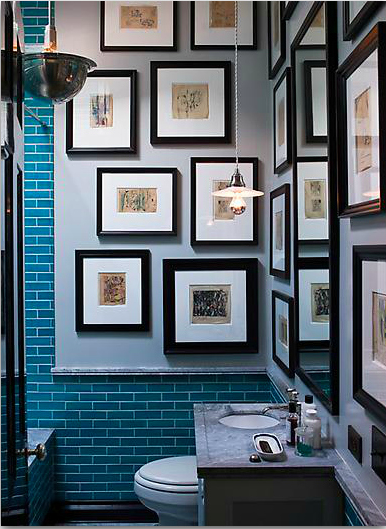
This collection of black frames by Steven Gambrel (a fellow UVA alum! Wahoowa) makes my mouth water:

Screen Shot 2015-08-23 at 12.04.13 AM

And how great is this grouping by the revered Ralph Lauren? (Seen on Little Green Notebook)

Screen Shot 2015-08-23 at 12.08.36 AM

But, alas, all of those frames would’ve been pricier than I was looking for in this project. What I really wanted out of the “installation” was a 3-dimensional quality with the postcards popping off the wall.

Screen Shot 2015-08-23 at 12.18.52 AM

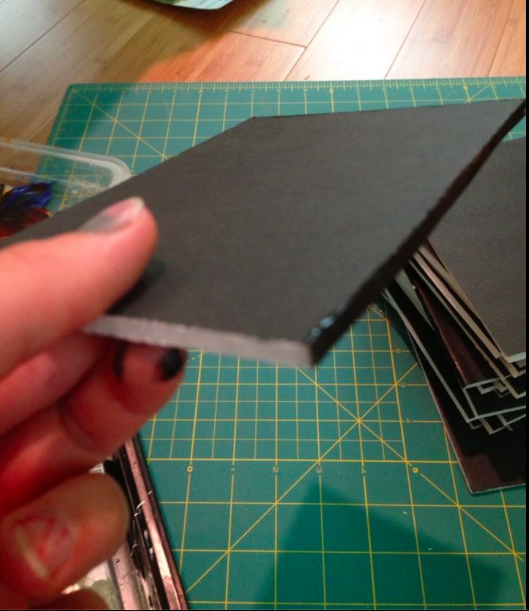
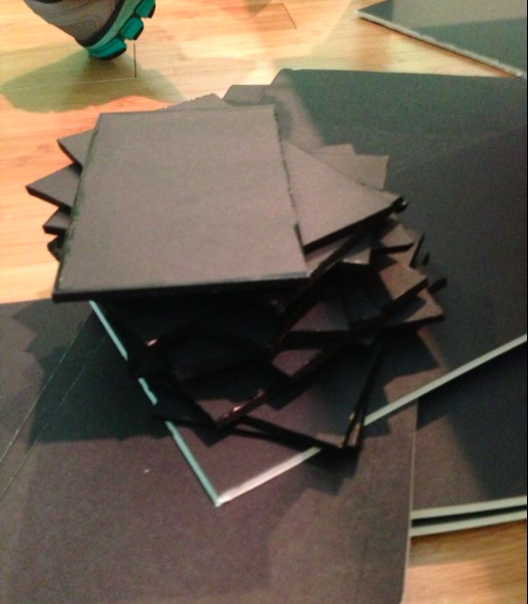
To achieve this 3-D look, I glued foam core to the back of the postcards and then hung them on the wall. Foam core board is super cheap—I got several boards from the dollar store and cut them down to be about ¼” smaller on all sides of the postcard. I recommend using an x-acto knife and straight edge when working with foam core; it's so much faster than scissors, which don't give a clean edge anyway.

Screen Shot 2015-08-23 at 12.17.06 AM

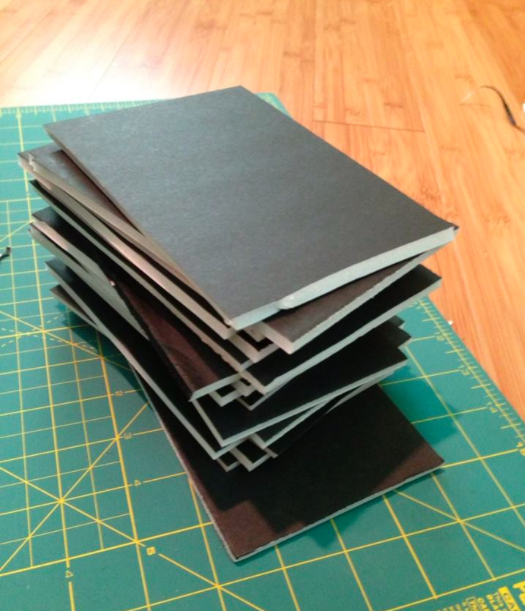
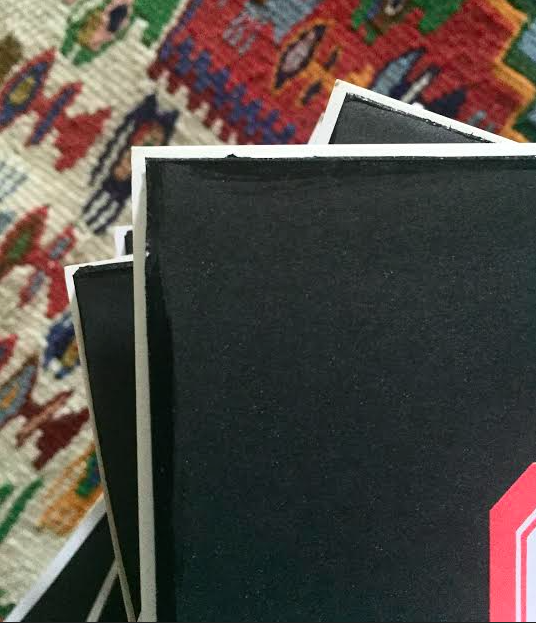
I realized when I cut down the foam core that the white foam showed on the sides of the cards and was rather unsightly, so I grabbed some black craft paint and quickly covered up the white foam with black paint.

Screen Shot 2015-08-23 at 12.16.49 AM
Screen Shot 2015-08-23 at 12.17.16 AM

After the paint dried, I used rubber cement (which I prefer to Elmer's glue when working with paper because it doesn't wrinkle) to attach postcard to foam core board.

Screen Shot 2015-09-04 at 9.20.26 AM
Screen Shot 2015-09-04 at 9.20.14 AM

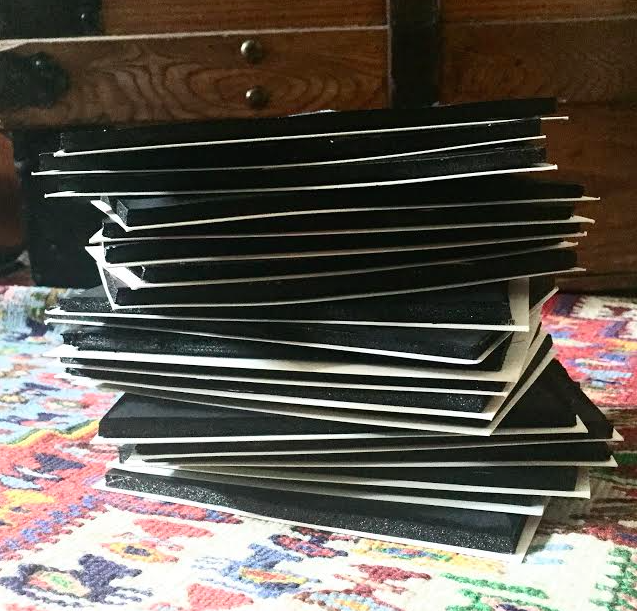
Because the foam core backing covers up the writing on the back of the postcard, I wanted to make a note to remind myself later where the cards had come from. I had some labels lying around, so I recorded the necessary details on the backs that way:

Screen Shot 2015-09-04 at 9.20.00 AM

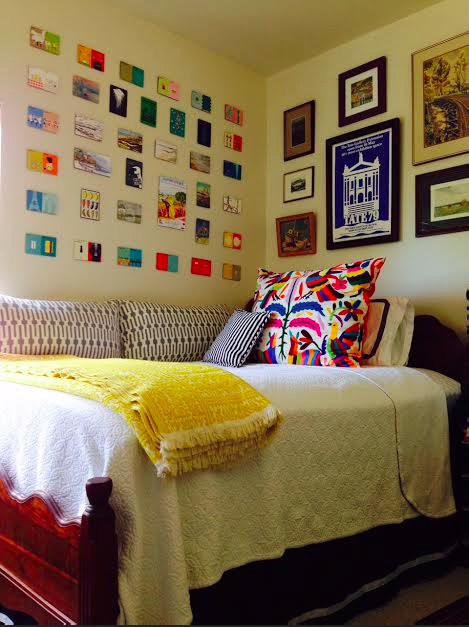
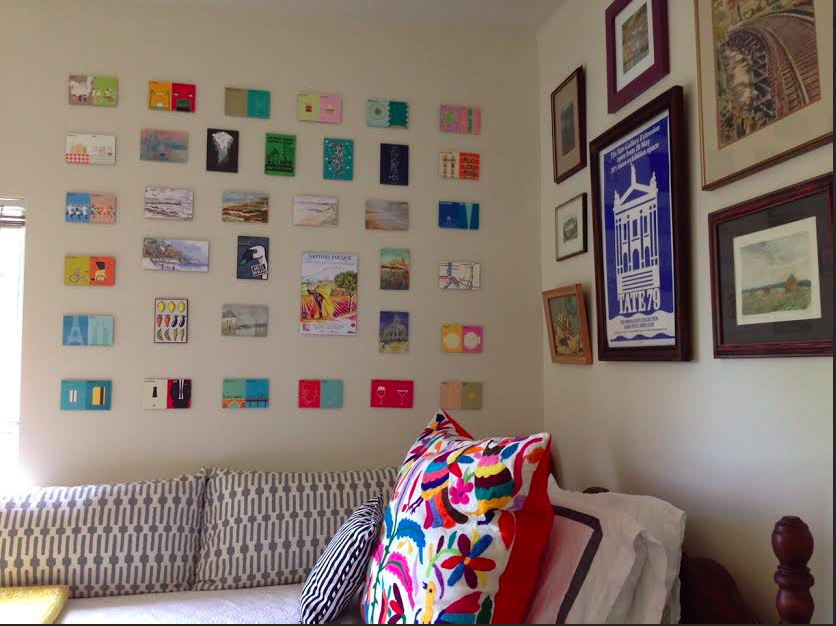
Then I hung them all up... ta-da!

Screen Shot 2015-08-23 at 12.18.39 AM

Do you have any great DIY ideas to share? Contact me here or in the comments below... I'd love to share them on The Spoonful! And happy Labor Day!

DIY: Tiny Shelf Makeover

One of my favorite things to do when redecorating a room is to see what existing furniture I have that can be reworked for a fresh look (like I did with my atlas-covered desk). During my last year of college I needed a small bedside table to hold a few necessities--namely, my ever-growing pile of books and a lamp with which to read them. I already had this little dresser with drawers that my grandfather had made years and years ago, which had been painted and repainted umpteen times. I had changed out his original knobs for these funky ones another time, but the drawers just weren't going to work for my books. Screen Shot 2015-08-15 at 6.11.52 PM

I liked the navy, so didn't bother painting it yet again. Instead, I took the drawers out and, taking care to keep the face of the piece navy (but apparently not careful enough--don't look too closely! A little painter's tape might have been helpful here...), spray painted the inside silver. I wanted something a little glitzy inside, but not too overboard. For the record, I don't always love to paint old furniture, especially pieces with sentimental value, but because this already had about five layers of paint on it, I didn't feel too badly.

Screen Shot 2015-08-15 at 6.12.24 PM

With a little (okay, a lot; okay, he did it all) help from my dad, boards were cut to easily slide into the dresser as shelves instead of the drawers. I covered them in some wrapping paper I had laying around and reinforced the edges with clear packing tape--a great little trick to keep the edges from getting banged up, which you can't see unless getting very up close and personal! You can see where I was running out of paper and turned the stripes the opposite direction on the last shelf. Gives a little personality :)

Screen Shot 2015-08-15 at 6.13.18 PM

Then I filled it with books! And a clementine crate, which fit perfectly, to hold odds and ends.

Screen Shot 2015-08-15 at 6.10.44 PM

And that was that! I loved this makeover because I only used things I already had (read: free!), and it was so quick to do--and so functional! Here it is in situ in my old Charlottesville room:

Screen Shot 2015-08-15 at 6.26.32 PM

What about you? Do you have any successful furniture makeovers? Contact me here or let me know in the comments below--I'd love to share them on the blog!