DIY: Atlas Desk
The desk in my studio is one of my favorite DIYs that I've done. I needed something to fill in the vacant space opposite the sofa, and I always find that a surface upon which to stack assorted piles is supremely helpful and necessary.

My parents' storage room is chock-full of all kinds of furniture--lucky for me and not so lucky for dear old Dad who bears the brunt of reorganizing it! I dug around and resurfaced with a 20 year old Ikea-type white and sturdy table on rollers: a blank canvas. Perfect.
I remembered this great image I had seen on my very favorite blog, Little Green Notebook, a few years ago.
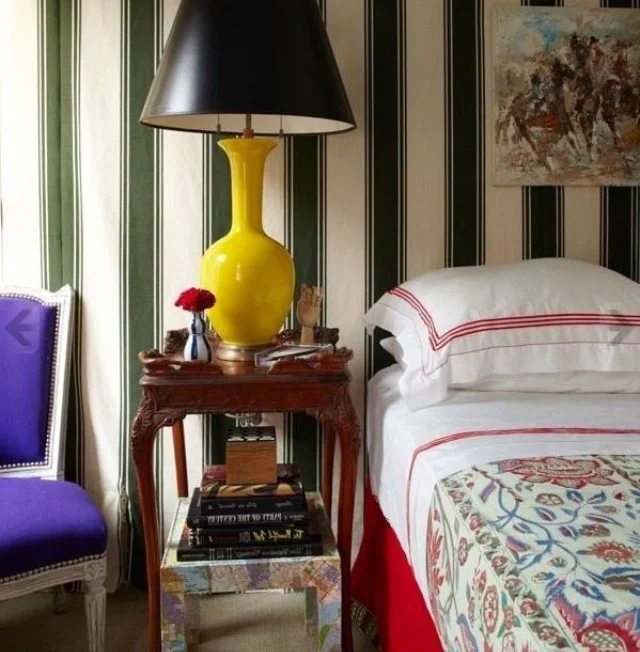
Check out that little Parsons side table covered in maps! It's from a room designed by Nick Olsen, who is just fantastic. He was nice enough to talk to me about the design field when I was in the midst of job hunting and soul searching and gave really helpful insight and tips about getting a foot in the door of the design industry (Thanks Nick!!).
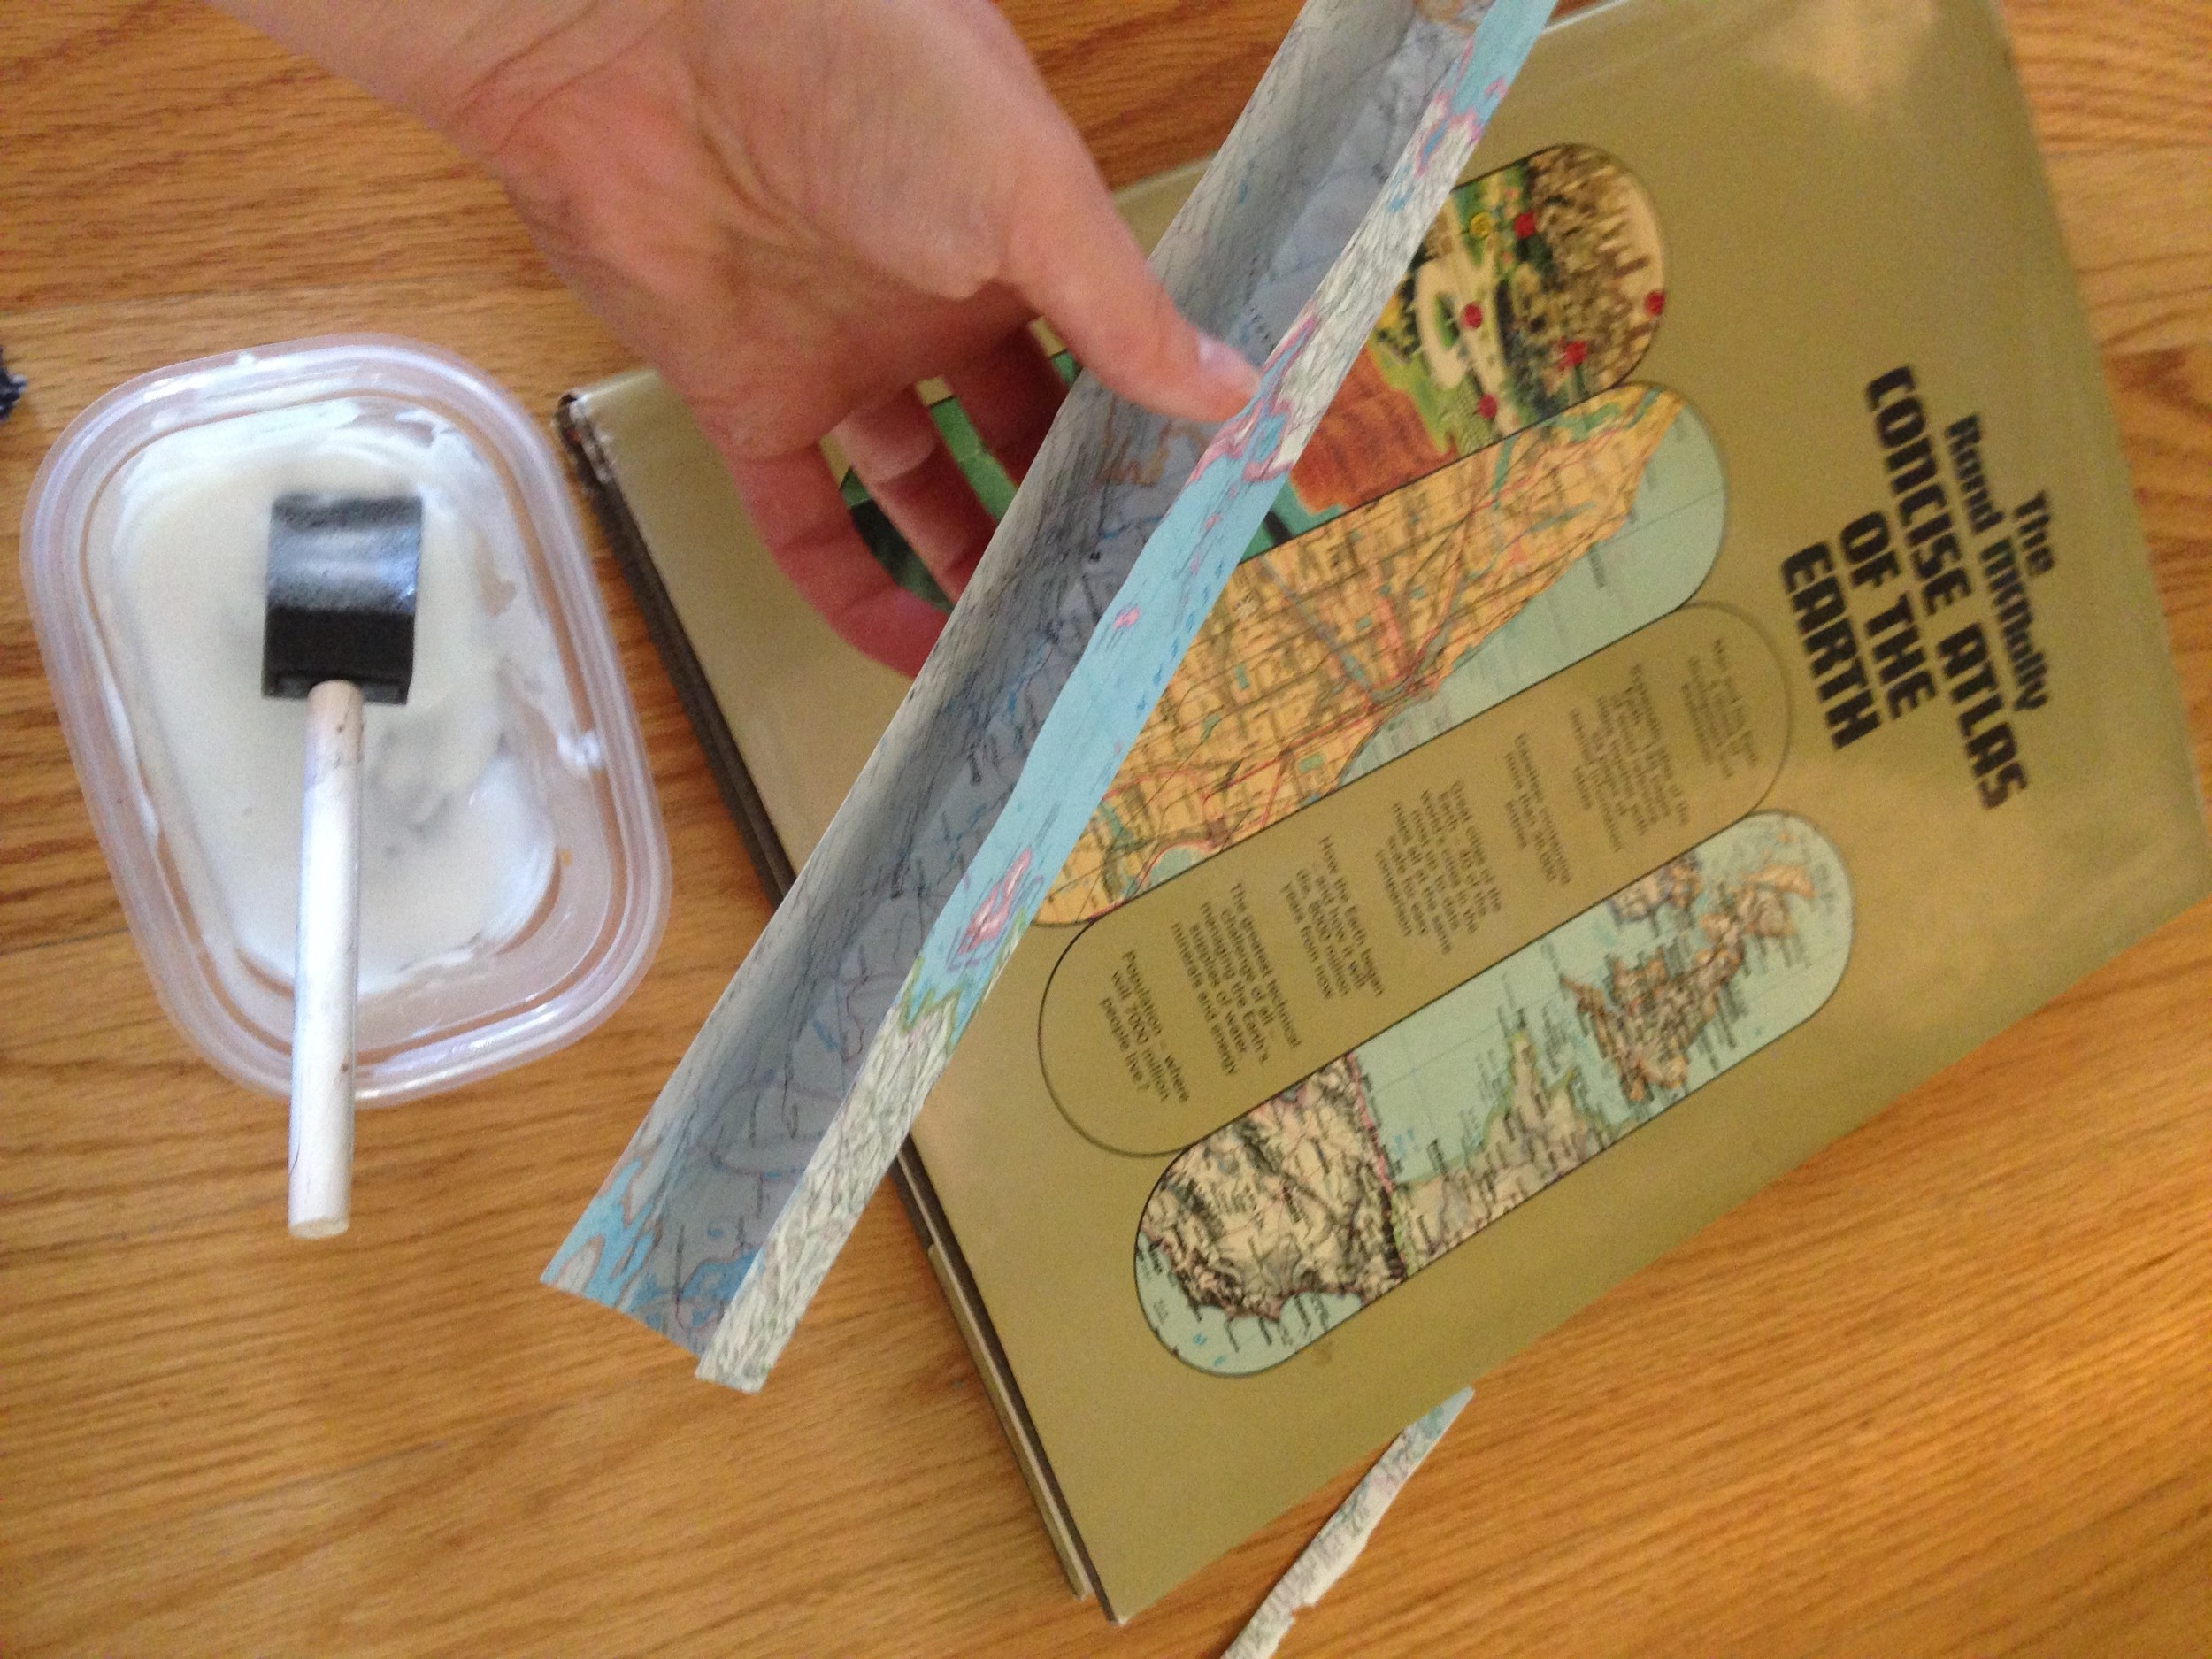
Maps have always been my thing, and I liked the way Nick's side table drew attention and interest without being over the top. Another hunt through storage led to an old atlas book from the 80s, which I commenced cutting up into big, mostly uniform sizes for decoupaging onto the desk. (Smaller pieces would've worked too, but I was a bit pressed for time.) I picked maps from the atlas where I had travelled or lived, or maps that I found to be exceptionally pretty, like the ocean maps that I put on the ends of the table.

Decoupage is terribly simple and there are loads of how-to pages with a quick Google search--or just use the directions on the tub of Mod Podge (I prefer the glossy finish). After making sure the desk was completely clean, I took the atlas pages I had neatly cut and laid out where I wanted them to be placed so that all of the white of the desk was covered, trimming them to fit if necessary. I also kept in mind color themes while doing this: I tried to keep edges all white maps, ends all ocean maps, etc. This made the maps seem a little less haphazard to me. Then, one by one, I brushed on a thorough--but not over-the-top--layer of Mod Podge with a foam brush (I like using these cheap foam brushes when I want to avoid brush strokes), and I coated the surface of the desk on which I planned on applying the page with a layer, too. I think it's helpful to let the Mod Podge dry for a few seconds to get a little tacky, and then I started in the middle of the top (although I probably should've started on the back... less pressure in case I messed up!) and worked out from there, smoothing the pages as I went. I find that less is more when it comes to Mod Podge... otherwise it wrinkles the pages. After each page had been placed, I covered it again with another layer of Mod Podge to seal it and keep any edges from peeling up.

The edges were a bit tricky, but I folded pages to fit around the turns of the piece, making sure I really creased the folds. This needed more Mod Podge to hold, and I found that making the piece a bit bigger made it stay because it had more surface area to hold on to.
I followed the drying instructions on the Mod Podge container and then took the desk outside to spray on a layer of polyurethane... I prefer glossy here, too. (This is optional, but I chose to do it because I knew it would be in a high-traffic spot.) This--horror of horrors!--made everything wrinkle dreadfully! So I covered the piece with a towel and stacked heavy books high to force the wrinkles out, with success. Crisis averted.

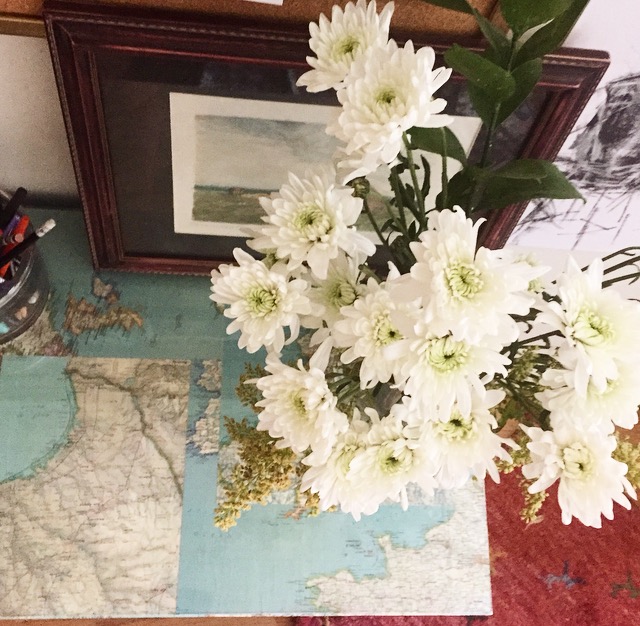
That's it! I had a piece of glass cut for the top and have been messing around with the containers, etc ever since. I'd like a proper desk lamp and definitely need to hide those cords. And need a filing cabinet! The list gets longer! To be continued... :)